So I've been bouncing around a lot recently between countries and then from place to place since being back in England with family and friends. Still, I managed to spend a couple of hours over a few days getting in some geek time and assembling my new Deathwing army (the Death-Grey-Space-Knight-Wolf-Wing). Once I figured out how everything was going to go together, it was a lot of fun to do and there were only a few niggling challenges.
I built this army from the following components:
- 1 Grey Knight Terminators boxed set
- 1 Space Wolf Terminators boxed set
- 2 Space Marine Terminators boxed sets
- 6 AOBR terminators
- Bits from the Dark Angel veteran and Ravenwing sprues
- Additional CC weapons (Thunder hammers and storm shields mostly)
There weren't any major issues in terms of scale except that I noticed the shoulder pads were slightly different sizes. As I recall it, the Grey Knight pads were a little bigger, which was fine on other arms, but using a space wolf or regular pad over a Grey Knight arm could sometimes be a tight fit. I persevered though and once the glue had set, everything looks like it fits just fine.
From the components above I created 2 shooty squads (Assault cannon and storm bolters), 2 assault squads (TH/SS, Sergeant with LC, CML), one command squad (TH/SS, Apothecary, Banner), a Librarian and Belial, Master of the Deathwing.
Here they are
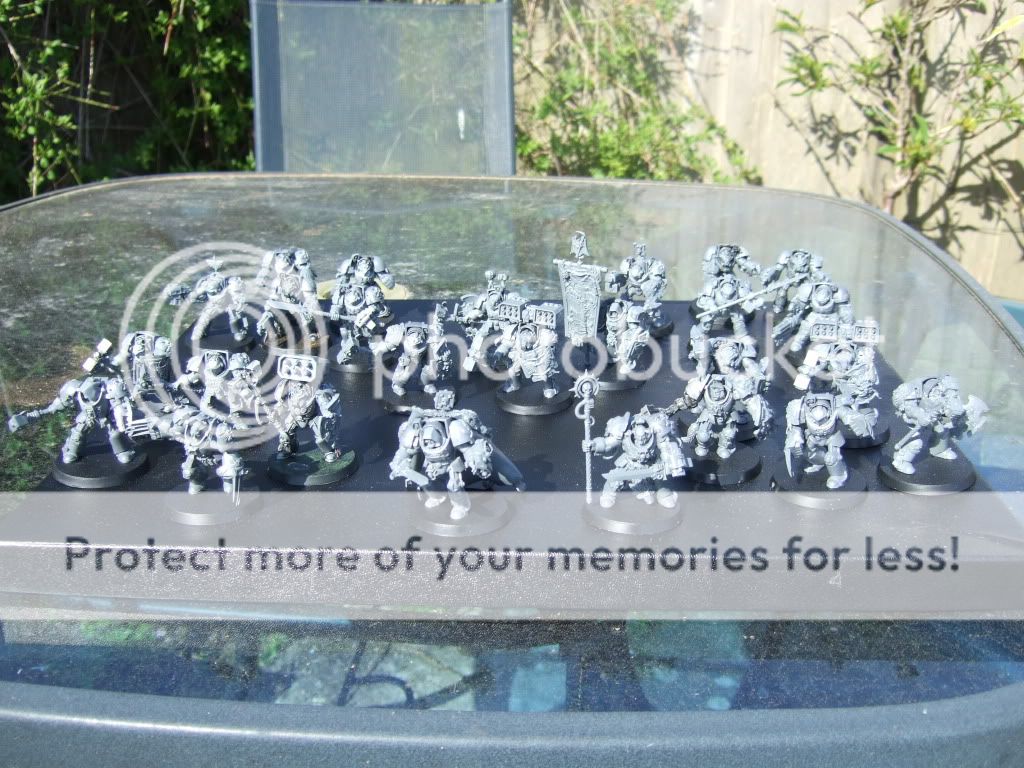
So now, onto the individual squads and pics. I had to carefully figure out the allocation of weapons and arms because of the mismatch of kits that I was using. I made a big chart with each model listed then added columns for legs, torso, head, L weapon, R weapon, L shoulder, R shoulder, Head. I didn't want anybody to stand out too much as completely Grey Knight, wolf or terminator so I tried to give everyone at least one piece of each kit style. I think it worked out fairly well.
Belial and Librarian
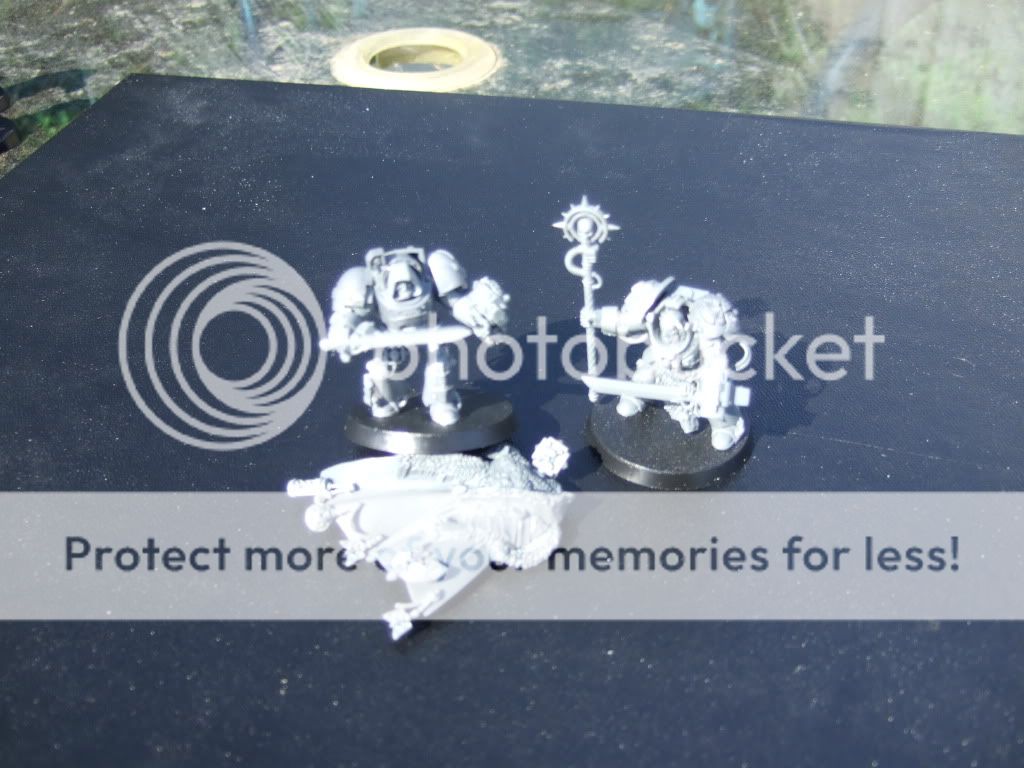
I decided to tweak the army so that I could include a Librarian in terminator armour rather than a small tactical squad. Partly it's for the psychic defence but also it just seems more fitting to have everyone in Deathwing armour. By adding the librarian the points go up to 1535 so if I need to cut back, I will drop the banner from the command squad and the two chainfists in the shooty squads.
Belial is armed with the standard storm bolter and sword of secrets rather than LCs because I liked the modelling opportunities of using a Grey Knight sword and storm bolter. He is made from: Deathwing legs, Terminator torso, Grey Knight left and right arms, GK sword and storm bolter (the latter decorated with Dark Angel bits from the upgrade sprue), hooded DA head, terminator right shoulderpad, deathwing left shoulder pad, wolf guard cloak decorated with dark angel icons and pieces.
The Librarian is less diverse: Wolf legs, GK torso, GK right and left arms, GK storm bolter, GK falchion, GK staff, terminator shoulder pads, DA bits hanging off rear belt area
Command Squad
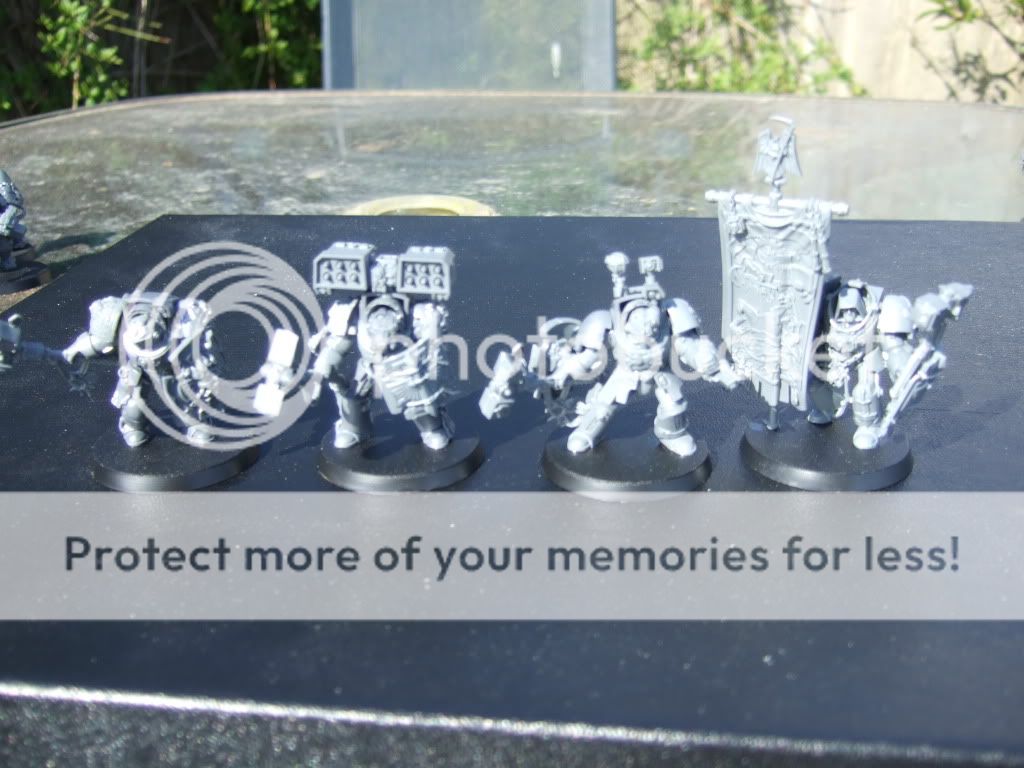
I know there are only four members here. The sergeant will be represented by a Captain Lysander model I was given. I haven't got any superglue or expoxy yet so he won't be assembled just yet. I can't decide whether or not to try to use some greenstuff to adjust the imagery on him or just say to hell with it and paint him up in Deathwing colours. With the amount of other styles in here, what's one Imperial fist going to matter? ;-)
The apothecary and banner bearer gave the extra challenge of needing to have TH/SSs while only having a single hand free. I managed to cut and bodge it so that they have the hammer and shield in the same hands and I think it came out pretty well.
Assault Squad 1

I really like how dynamic a lot of the poses are on these models and it was a lot of fun to make some really badass looking terminators. I've never played with the assault kind before and I'm looking forward to beating some face when I get time to actually play them
Assault Squad 2

I love the pose of the sergeant in this one and just wish the focus had been more even. I'll have to play with more photography later. The squad's CML is made from a chopped down Ravenwing Typhoon missile launcher. It fits quite nicely though there was a big hole in the side where I'd cut off the part that fits into the landspeeder. Luckily one of the flowing scroll pieces from the Ravenwing set covers that gap nicely.
Shooty Squad 1

I decided that the shooty sergeants with power weapons would get to wield the two-handed grey knight halberd and I think they came out looking tasty. These were the most troublesome modelling bits though as the GK torsos seem to be very slightly wider than regular torso pieces. Since each arm had to be angled the right way to match up with the other arm's hand placement it meant a complex series of multiple spidery-finger-holding-glue steps were needed. They came out nicely in the end though. I love the belt-fed Wolf Guard assault cannon. You can really tell the step up in quality and complexity when comparing these kits that were designed years apart.
Shooty Squad 2
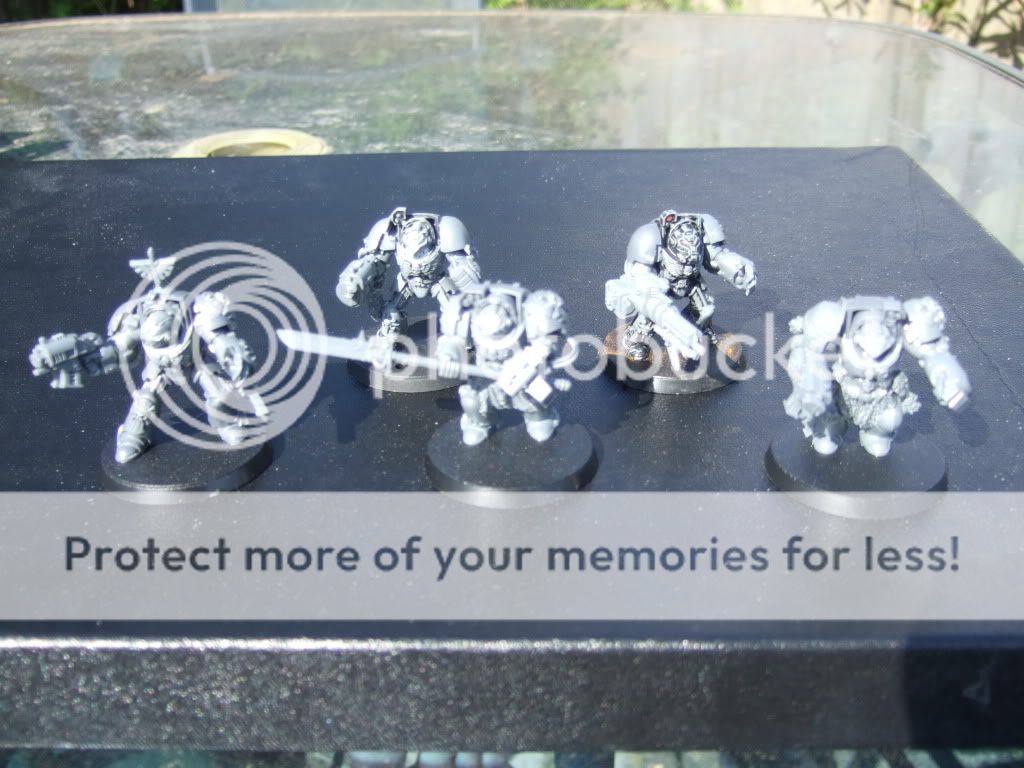
The final squad. This one seemed a little bit static in poses with the pieces I had left so I did my best to make my chainfist wielder look very dynamic and threatening. I think it worked out. Still, it would have been nice to have some more cool pieces left to work with but hey, you work with what you have.
Next steps?
So the next part is clearly to base and paint these guys. I'm going to use the army painter bone spray to get the basecoat done, then wash with a sepia tone before I start bringing up the armour tones. Those who read the original Deathwing story printed way back in the day when you could still field Genestealer patriarch's will hopefully like my painting plan. In the story, the Dark Angel terminators wore black armour then, when they marched on a city full of Genestealers and didn't expect to live, they painted their armour bone white, in the tribal tradition know as Deathwing. When the rest of the chapter came looking, the surviving terminators asked that the armour was kept that colour to honour the fallen brothers. This gave rise to the Deathwing armour colour of the current edition with one exception. In the story, the left shoulder pad, with the crux terminatus was kept black to honour the Emperor. I'll be doing this with my models and it gives me a good way to mark out the librarian (blue shoulder) and apothecary (white shoulder).
For anyone who wants to make this army or one much like it, I definitely suggest giving it a try. It's a blast to fit all the different terminator parts together. If I was doing it again I would probably use:
- 2 space wolf boxes (for the CC weapons and assault cannons)
- 1 assault terminator box
- 1 grey knight box
- 1 terminator box
- 1 ravenwing sprue (for typhoon => cyclone missile launcher conversions)
- 1 dark angel sprue
Thoughts and comments are welcomed
Pete